In this article, learn how to customize the design and appearance of your online store to highlight your brand and personalize your customers’ shopping experience.
1. Set up navigation and footer links
2. Create an announcement bar
3. Add a hero carousel
4. Set your store color and theme
5. Add an FAQ section
To set up your store design, visit Account > Appearance on your Freshline Dashboard.
1. Set up navigation and footer links
Help customers navigate around your store by adding header and footer links. These links can be internal or external. Most suppliers link useful pages like:
- Current delivery zones (automatically created for you under https://storeURL.com'/locations')
- FAQs (automatically created for you under https://storeURL.com'/faq')
- Product List pages (created via your Lists page)
These links will appear on your Navigation and Footer sections on your online store. To change the link order, simply drag and drop the link using the Dot Icon :::
To add navigation or footer links:
1. Enter a label for your link.
2. Enter the URL link for your label.
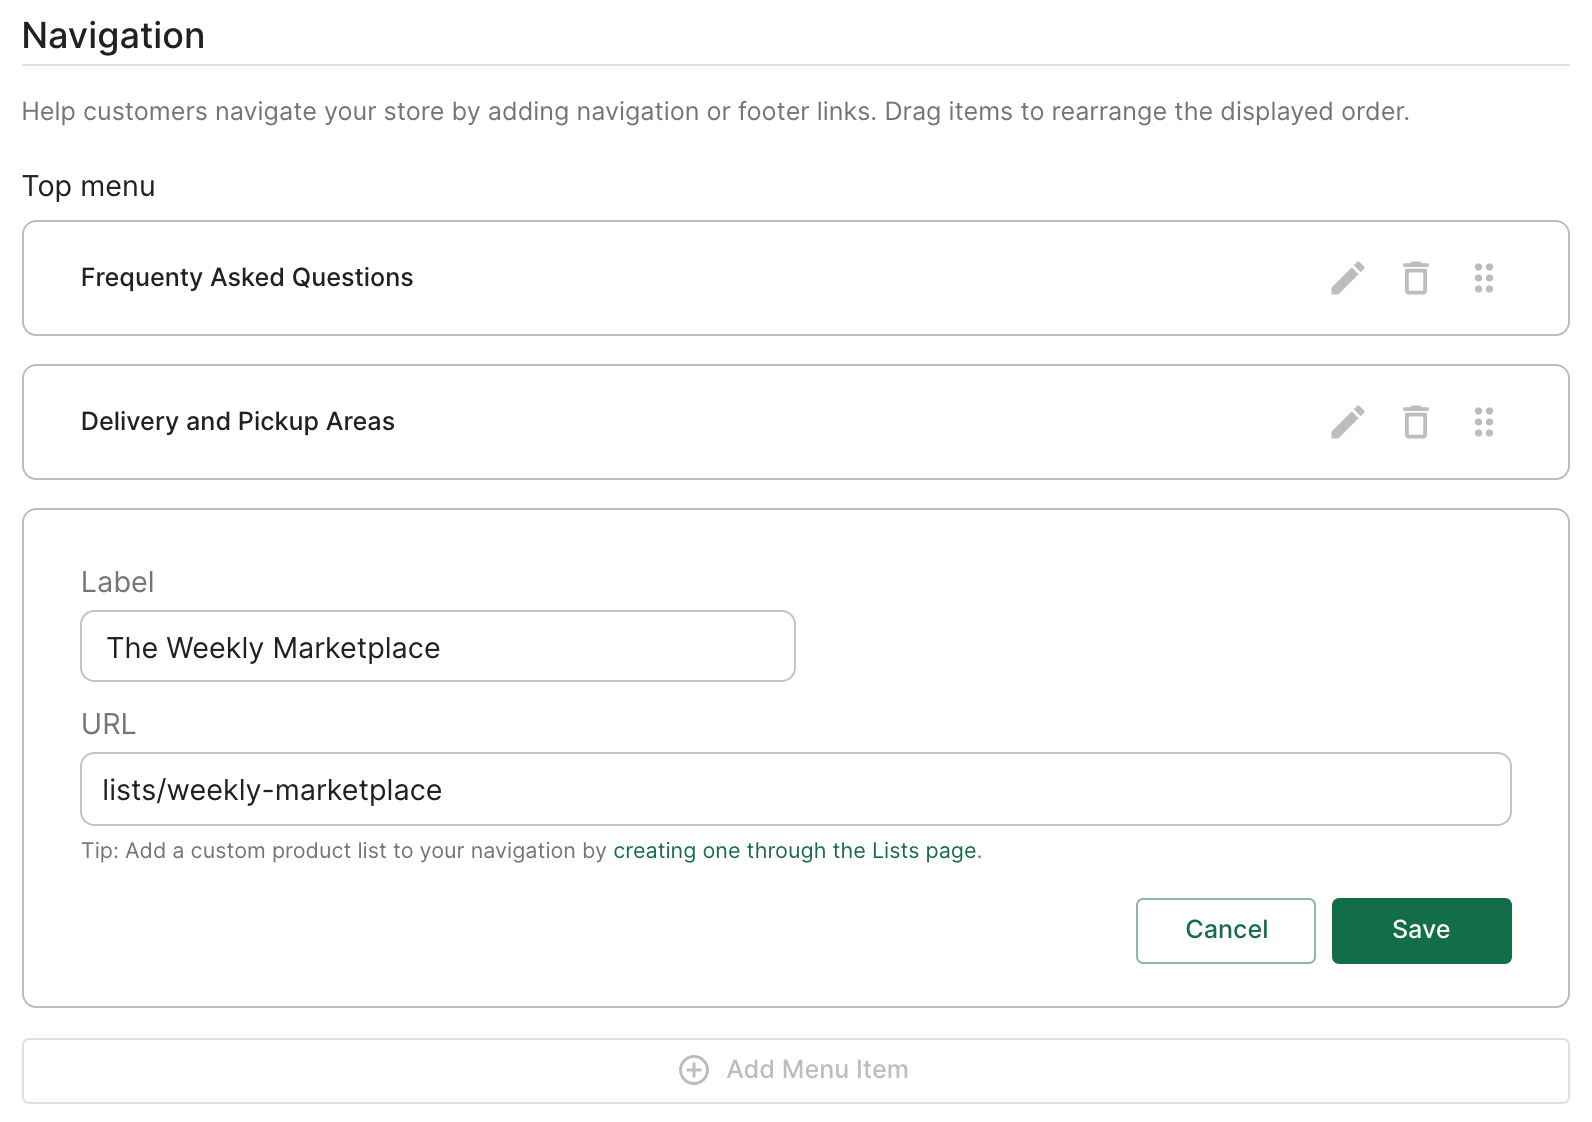
3. When you've finalized your top and footer menu, click on Save.
2. Set up your announcement bar
Share important updates with customers with an announcement bar on your shop. Use the announcement bar to indicate new hours of operations, discounts, holiday closures, etc. This will be displayed at the top of your store until the customer dismisses it.
1. Enter a title for your announcement.
2. Enter the announcement message.
3. Use the preview to see how your announcement bar will appear on your shop.
When you’ve finalized your announcement bar, use the Display on marketplace toggle to showcase the banner on your shop.
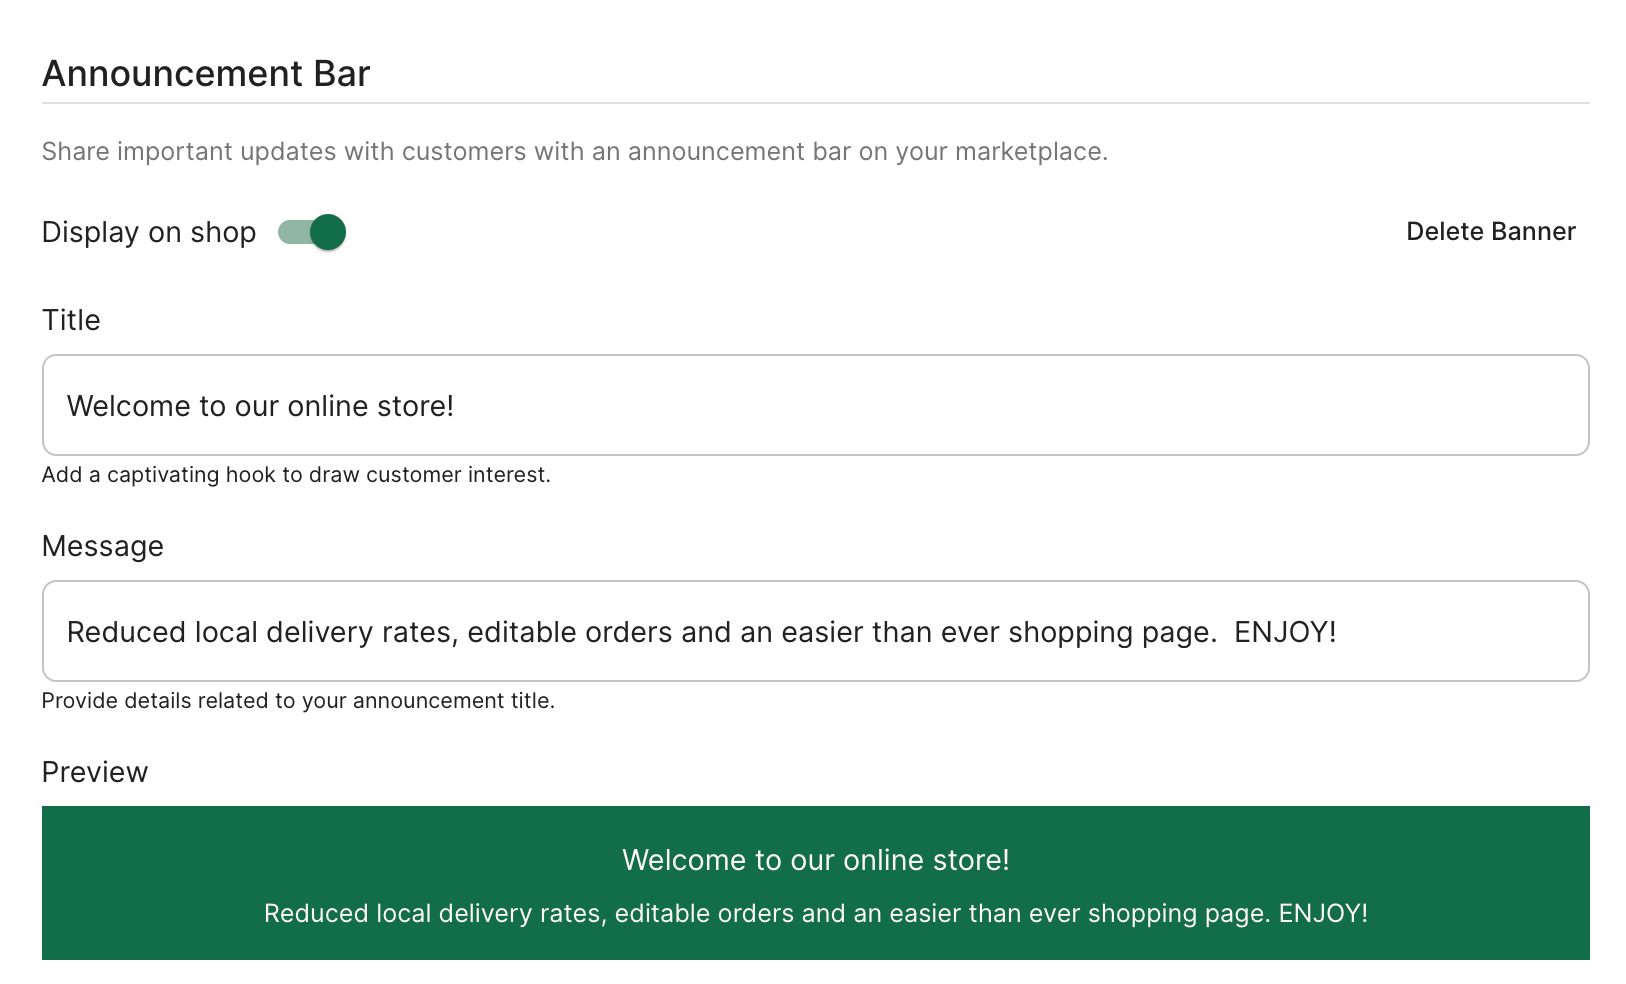
4. When you've finalized your announcement bar, click on Save.
3. Set up a homepage carousel
Increase audience engagement and boost sales by promoting products or showcasing discounts through carousel banners. Use the carousel to capture your customers’s attention by highlighting promotions, new products, etc. This will be displayed on the home page of your store.
1. Select a layout for your carousel (Full width, or half width).
2. Enter a header and sub header for your banner.
3. Optionally, add a button with an associated URL link.
4. Add a image for your carousel and click on Add Slide to save.
5. Use the preview to see how your carousel will appear on your shop.
6. Add as many as 5 carousel banners.
When you’ve finalized your carousel, use the Display on shop toggle to showcase the carousel on your shop.
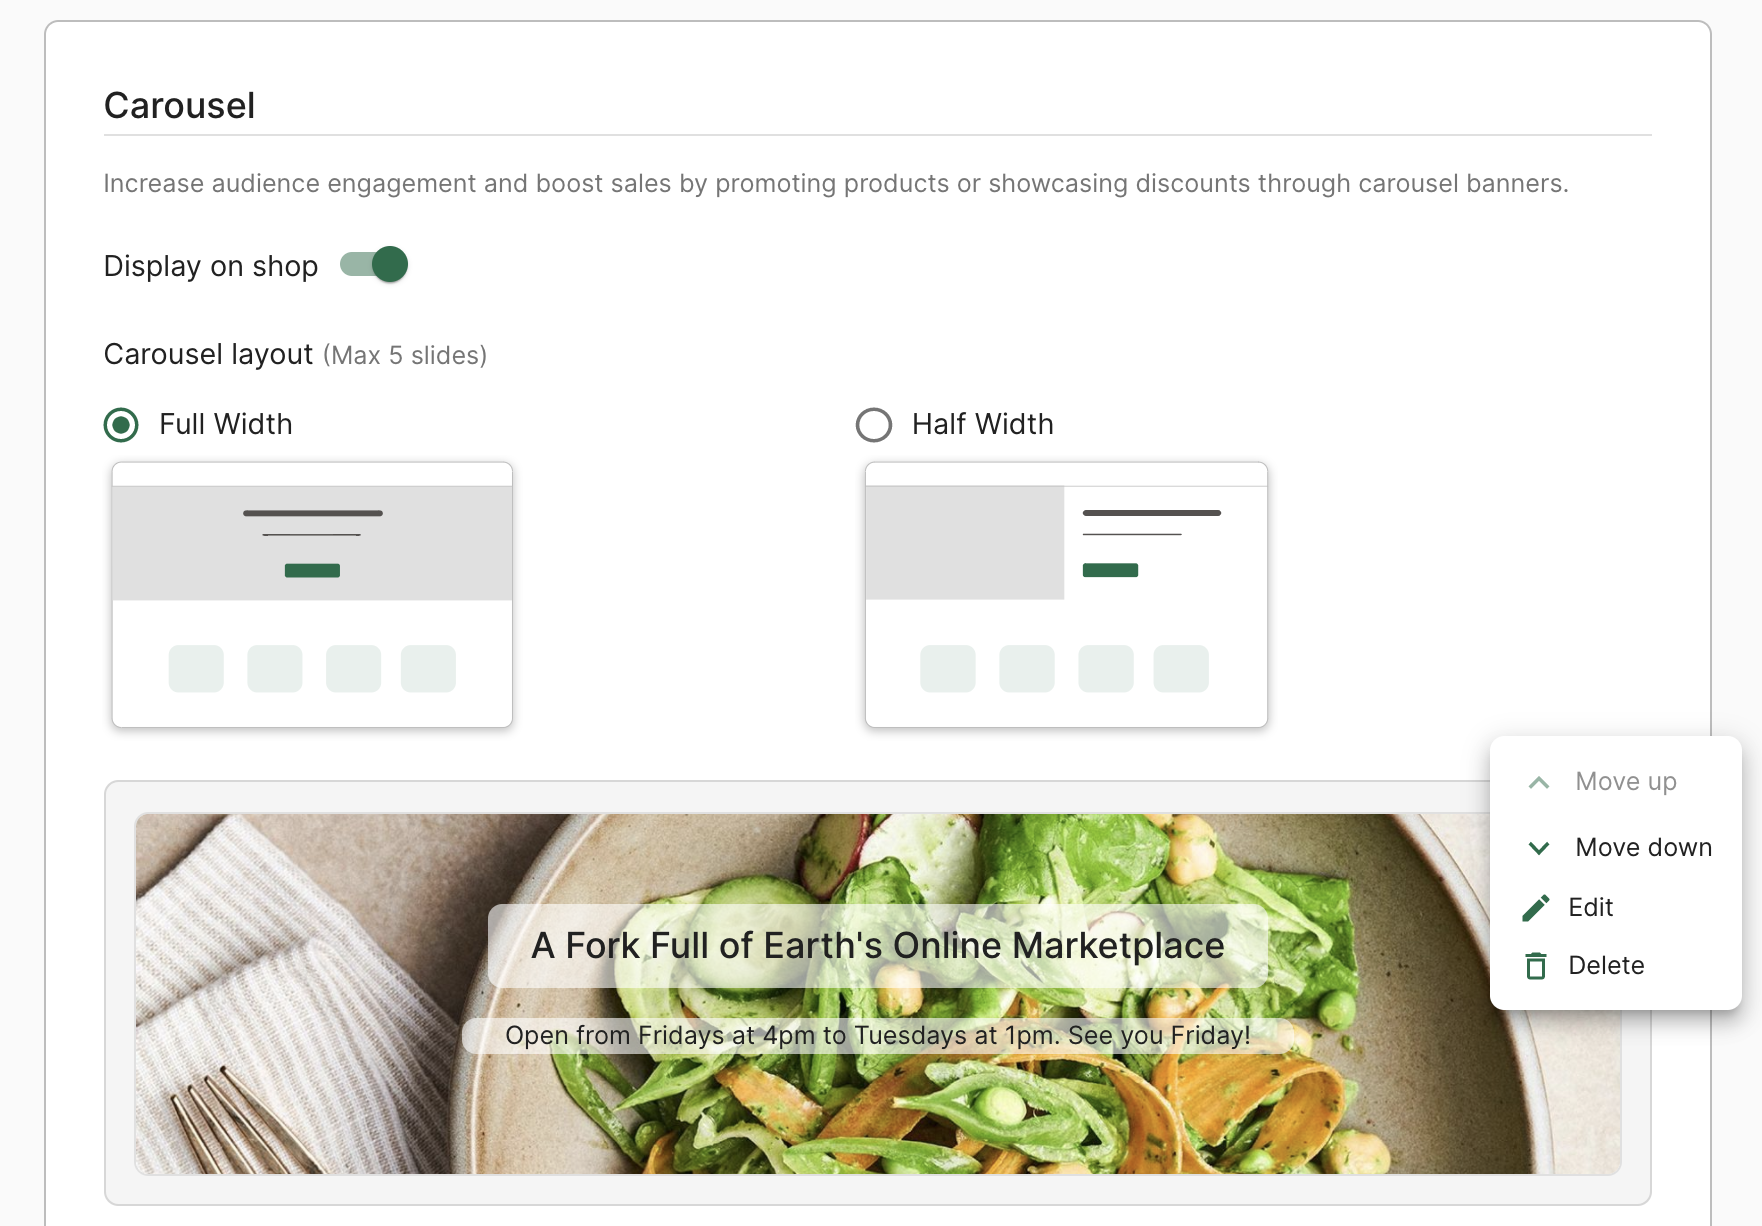
7. When you've finalized your carousel, click on Save.
4. Set up your theme color
Personalize your shop further by configuring your theme color. This choice will be reflected throughout your store - changing the color of your buttons, icons, links, and banners.
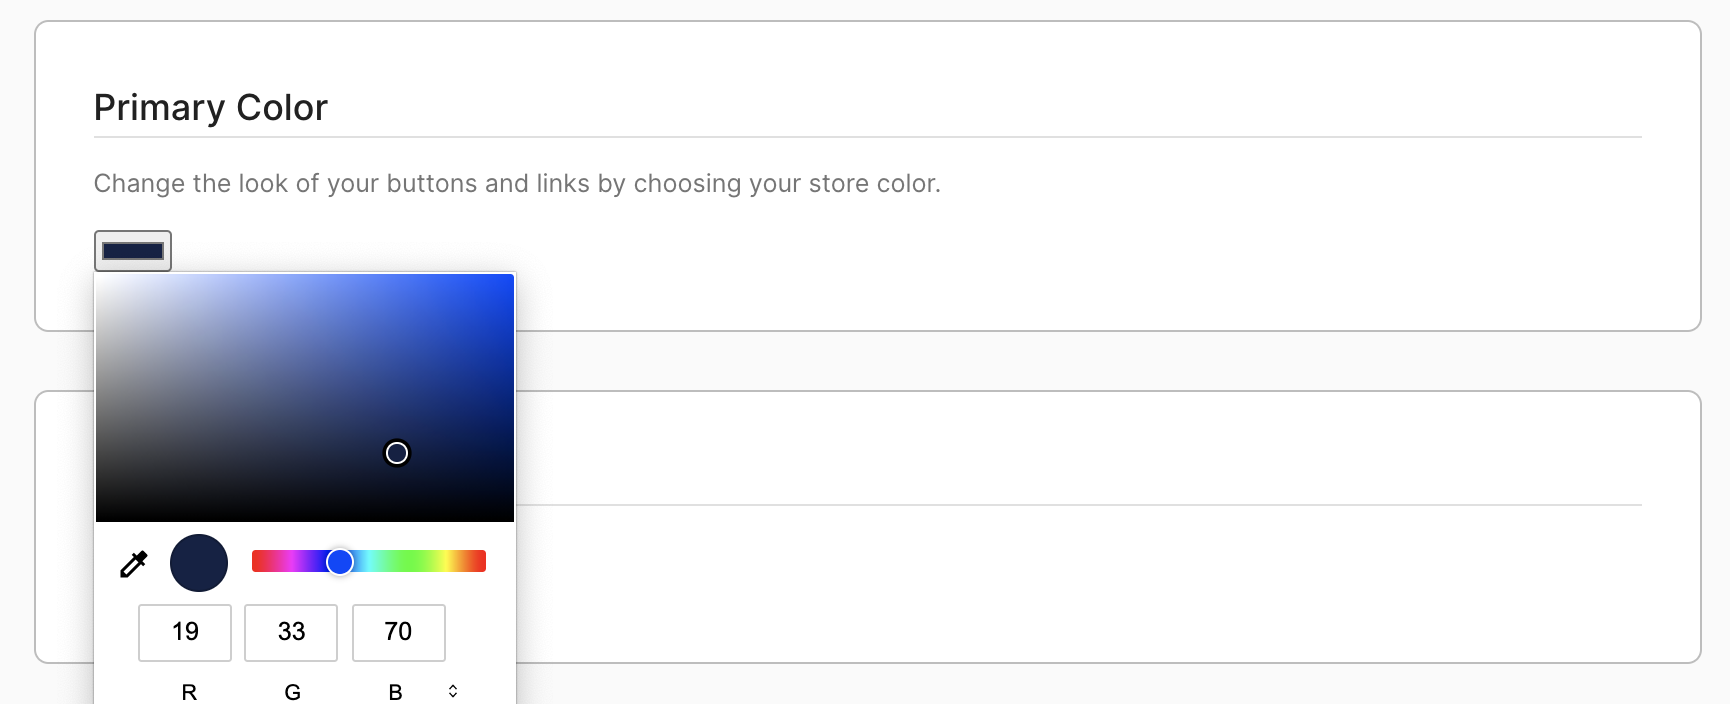
For users wanting a darker theme or store palette, toggle Dark Mode to invert the color across the store. This will create a sleek, darkened look across the entire storefront.

3. When you've finalized your changes, click on Save.
5. Set up your FAQs
Decrease customer inquiries by adding a frequently asked question section to your store. These questions and answers will be live at your store url -> /faq.
To create your FAQs:
1. Enter your question label and detailed answer.
2. Click on Add Question to save.
3. Add as many questions as you’d like to your shop.
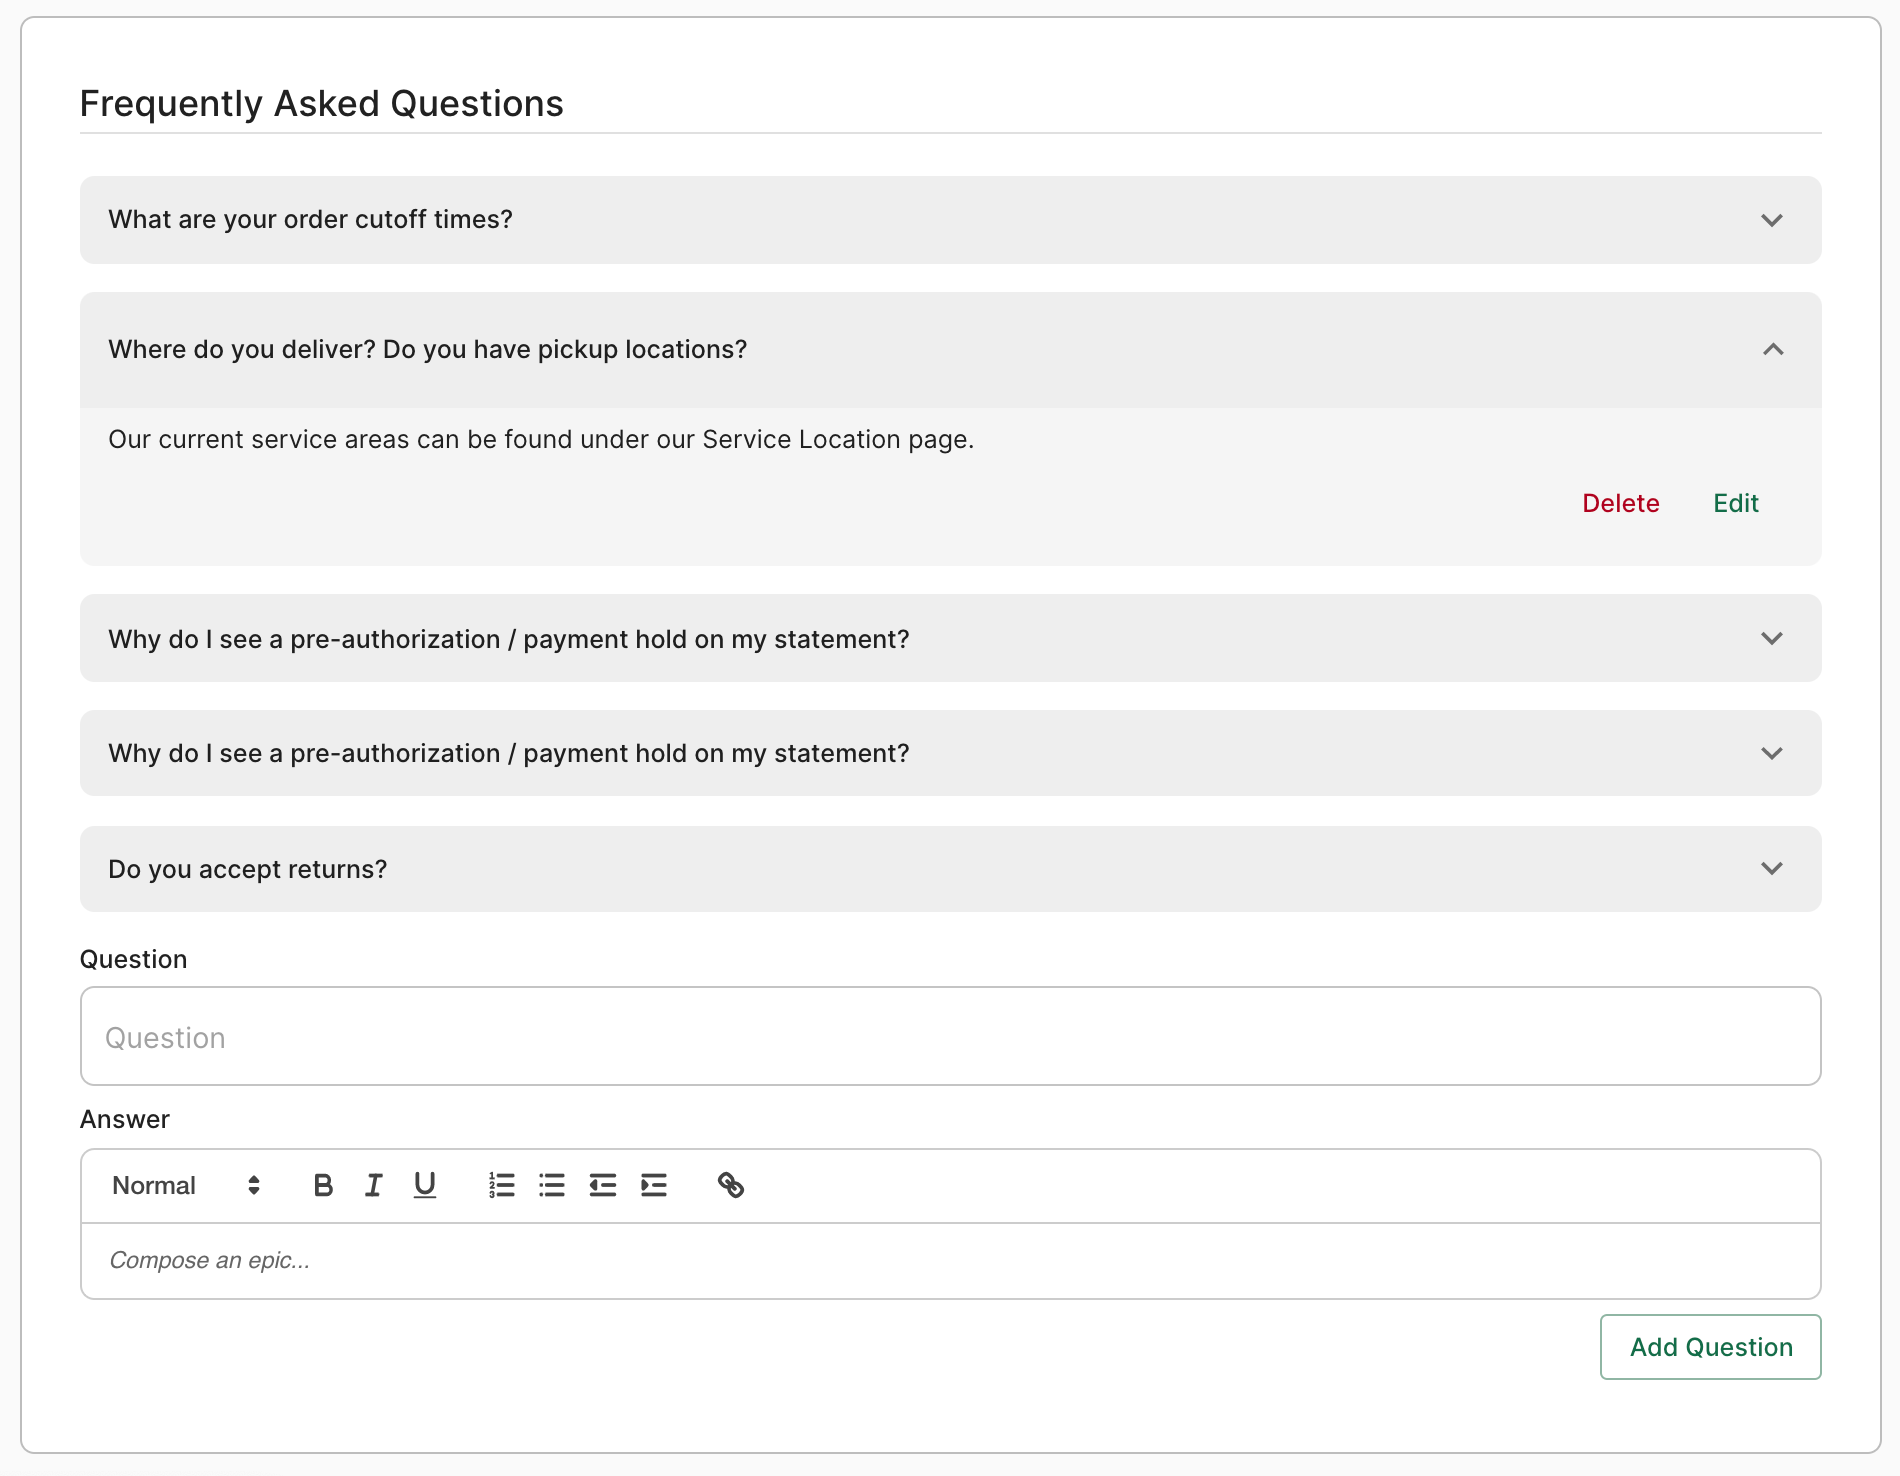
4. When you've finalized your FAQ, click on Save.