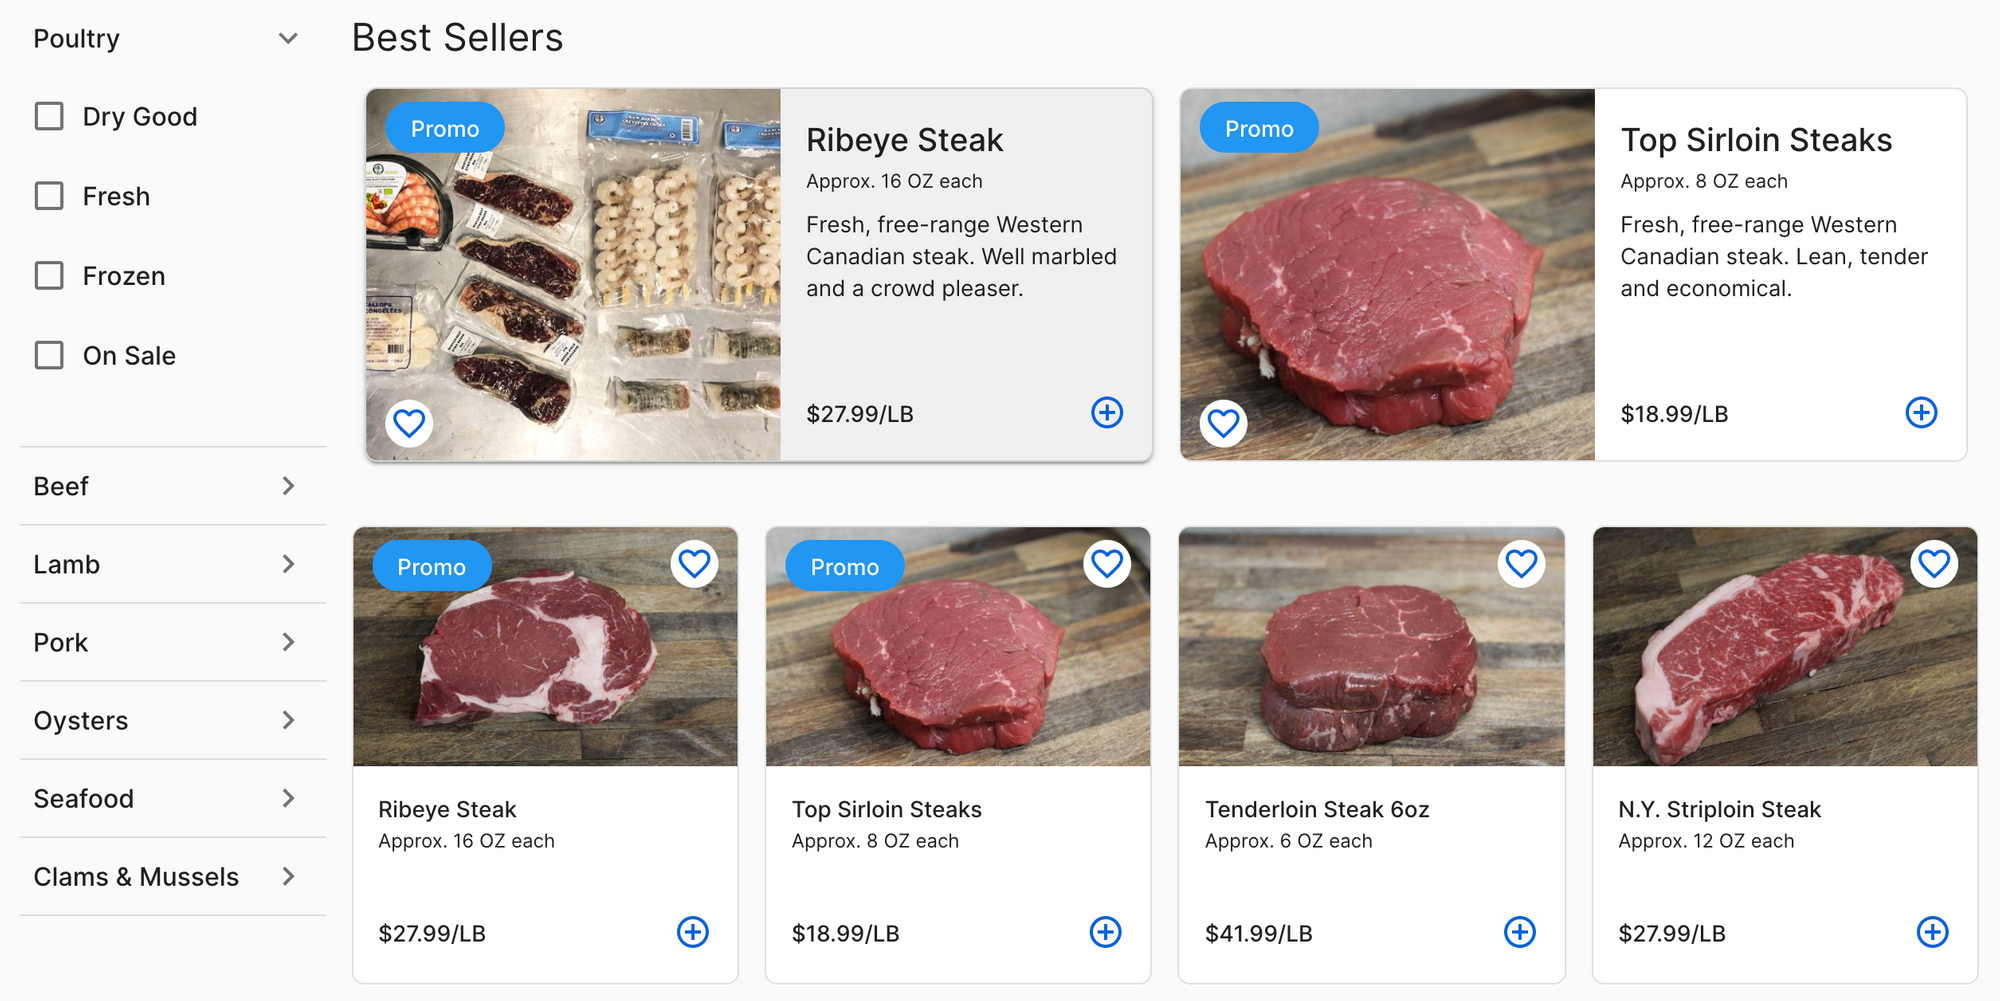
In this article, learn to create different categories to showcase on your shop. These categories and tags are shown to customers via the side navigation of your store.
*To make any bulk edits to the assignment of categories and tags for a collection of items, please refer to our Products guide.
1. Create a category
To create a category visit Product > Categories > Create on your Freshline Dashboard.
1. Provide a name for your category (eg. Shellfish). Categories will appear on the side navigation of your shop.
2. Provide a series of tags for your category (e.g. Fresh, Frozen, Live, Smoked). These tags will fall under the category tags in the side navigation of your shop.
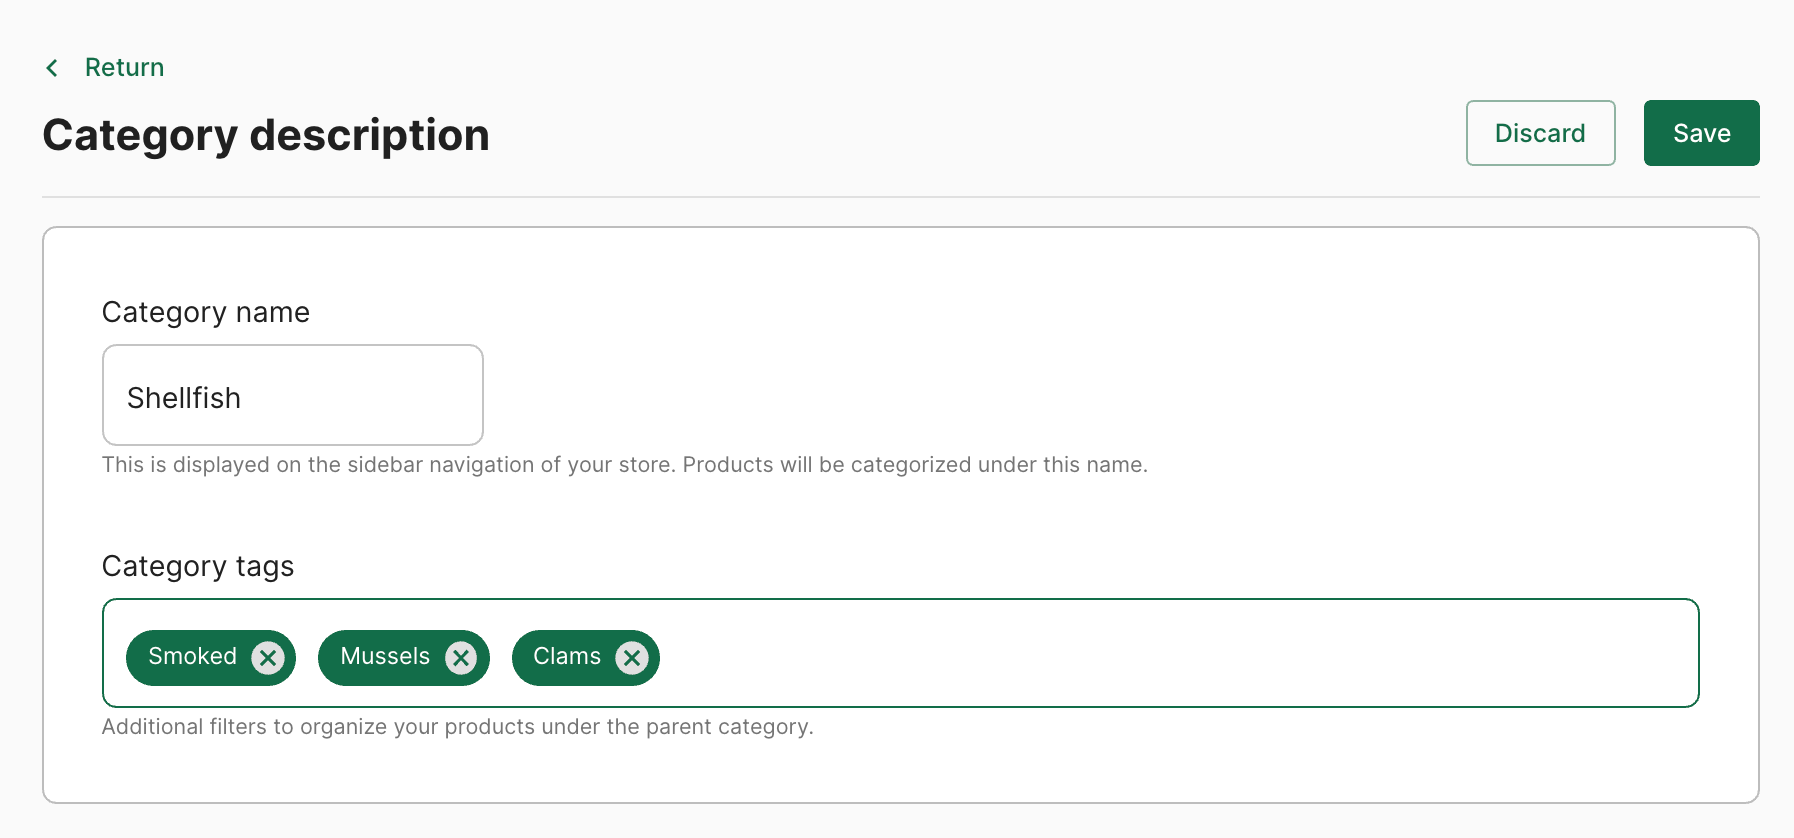
3. When you've finalized your category click on Save.
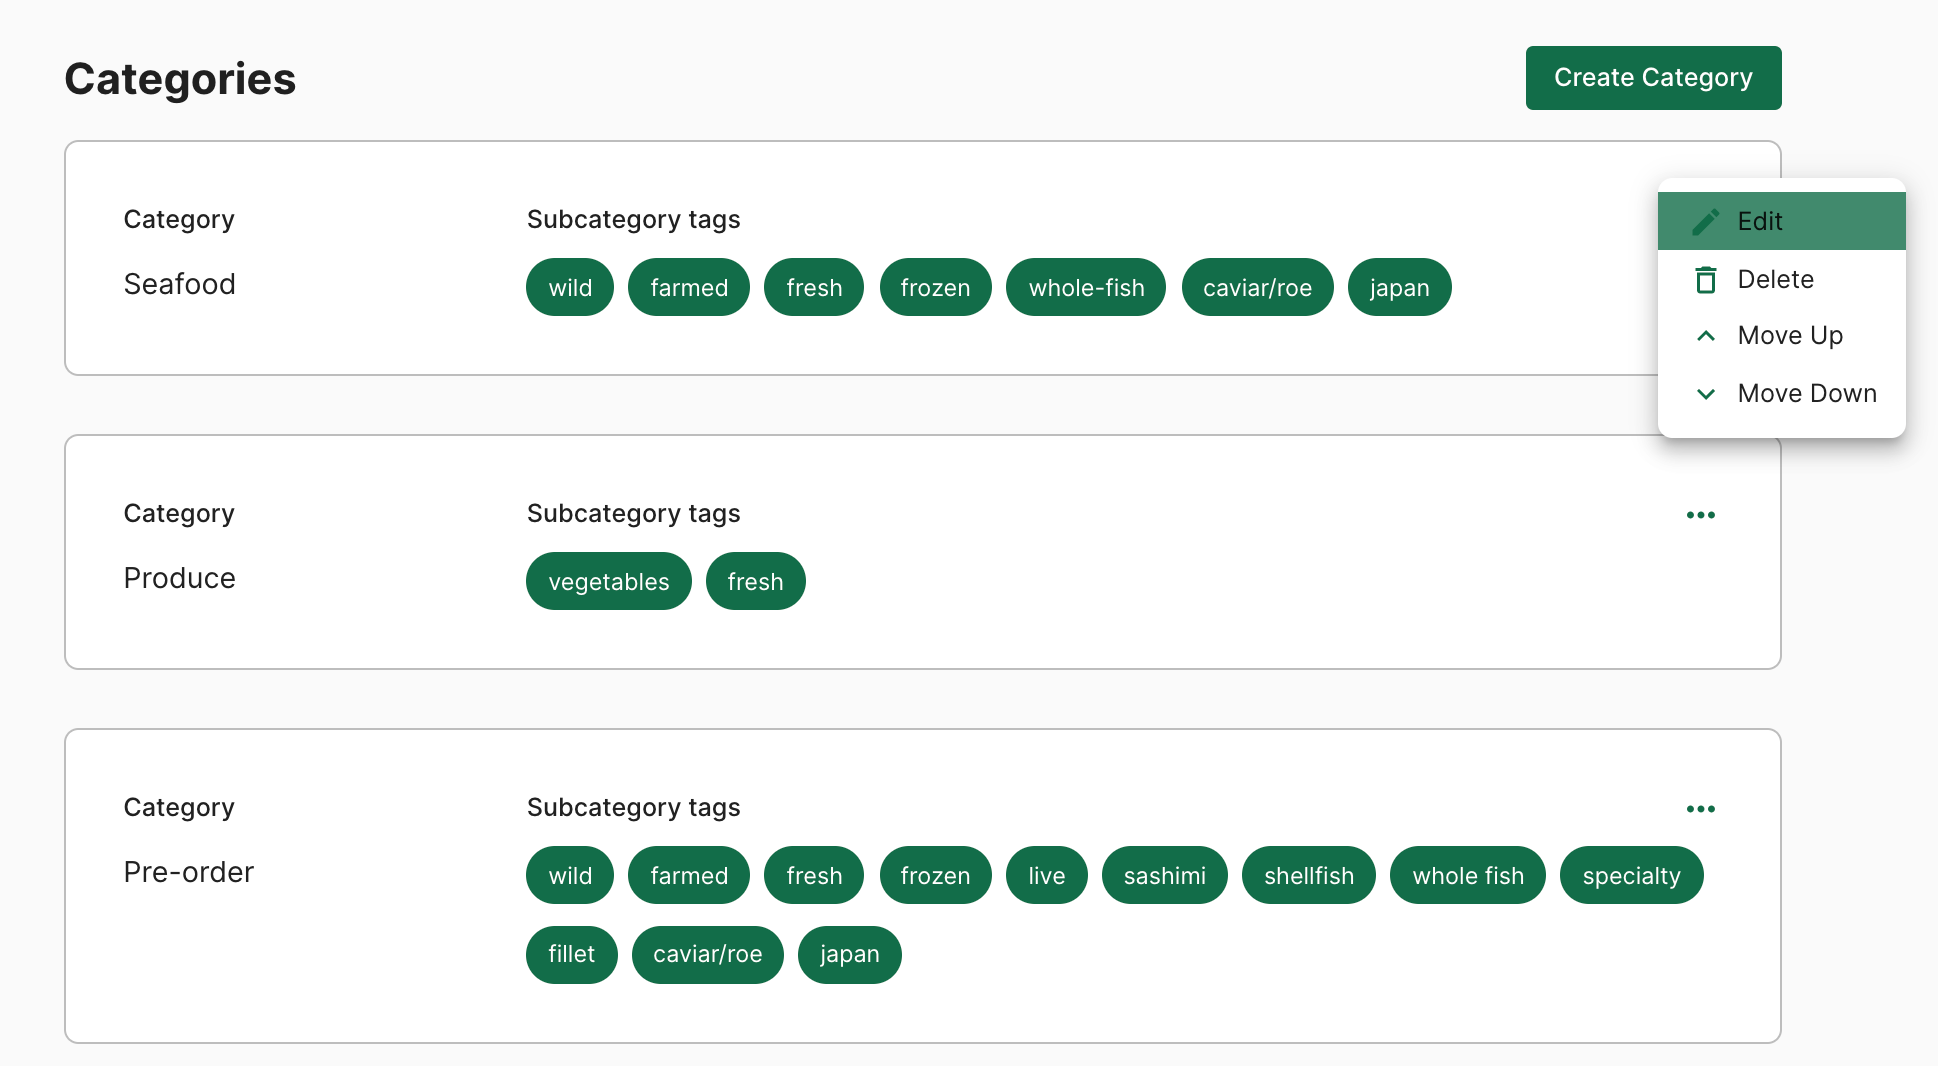
4. Re-order any categories from the main Categories page by clicking the ... menu icon. This will determine the ideal layout on your shop’s side navigation.